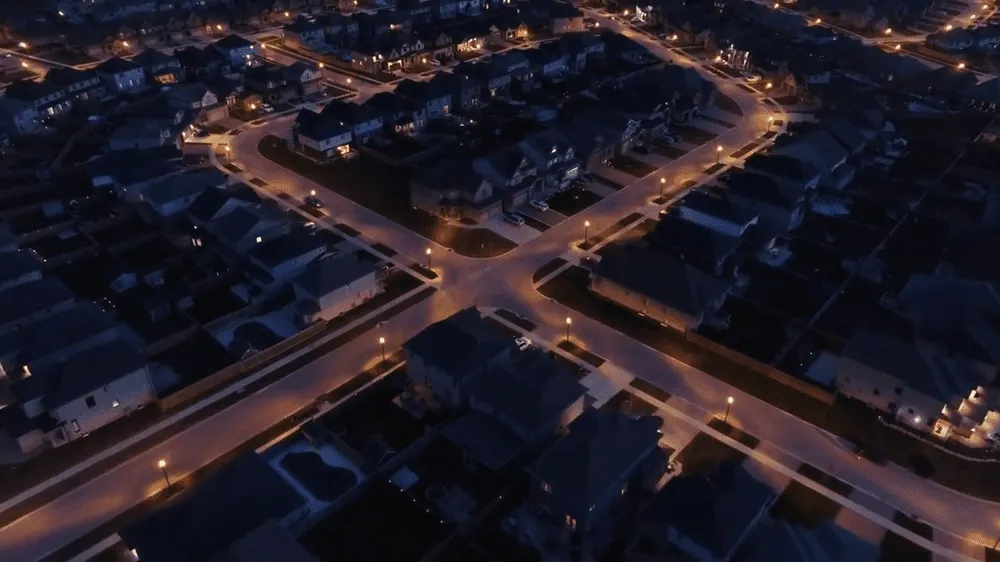
IES 3D Lighting Simulation

When you have an IES (Illuminating Engineering Society) photometric file for a luminaire and want to check the actual lighting effect quickly, a traditional workflow requires opening DIALux, creating 3D models, setting parameters, and waiting for rendering—which can take from 30 minutes to half a day. The ies lighting simulation app, developed as an instant 3D rendering tool within our OpenSolar Design ecosystem, solves this problem by providing immediate 3D lighting simulations directly on your mobile device or web browser in just a few simple steps.
1. What You Need to Prepare
To use the ies lighting simulation app effectively, you need to prepare the IES file and basic light pole parameters.
1.1 IES File - The Most Critical Input
The IES file is a standard photometric data format that contains:
- - Luminous intensity distribution data (C-planes and gamma angles)
- - Total luminous flux
- - Luminaire dimensions
- Without an IES file, estimations can only be made using luminaire power and flux, which leads to large errors and fails to accurately predict spot shapes or lux uniformity.
1.2 Where to Get IES Files?
- - Contact luminaire manufacturers (All reputable manufacturers should provide them. At OpenSolar Design, we provide precise standard IES files for all our solar street lights and LED optical lenses)
- - Download from the official website of manufacturers
- - If no IES file is available, this app cannot be utilized
1.3 Light Pole Parameters
You also need to know the pole installation conditions:
- - Pole Height: From design drawings, typically 6-12 meters
- - Pole Type: Conical pole or stepped pole, from design drawings
- - Ground Type: Asphalt / concrete / grass, from on-site observation
2. App Functional Modules
The ies lighting simulation app adopts a bottom navigation design, containing 5 functional panels.
2.1 Map Panel (Optional)
- - Associate the geographical location of the project
- - Add location metadata to the final report
2.2 Upload Panel
- - Upload IES files (supports local file selection on mobile devices)
- - Automatically parse IES file header information
- - Display key metrics: luminaire model, luminous flux, wattage, etc.
2.3 Lighting Panel
- - 3D Scene Settings: Pole height, pole type, luminaire tilt angle
- - Real-time 3D Preview: Light poles and light distribution rendered instantly by Three.js
- - Freely rotate and zoom the 3D scene for multi-angle inspection
2.4 Illuminance Panel
- - Ground lux calculation grids
- - Isolux line visualization (similar to topographic contour lines)
- - Minimum / maximum / average lux display
- - Uniformity calculation (Min Lux / Avg Lux)
2.5 Report Panel
- - Generate comprehensive lighting simulation reports
- - Include 3D scene screenshots, lux charts, and parsed IES metadata
- - Export to PDF or share instantly
3. Understanding Lighting Metrics
To correctly interpret simulation results, you need to understand key lighting indicators.
3.1 Lux Values - How to Interpret Them?
Illuminance is measured in Lux (lx), which represents lumens per square meter.
- - Road Lighting: Main roads 20-30 lux, secondary roads 10-15 lux, residential streets 5-10 lux
- - Pedestrian Sidewalks: 5-10 lux
- - Plazas and Squares: 10-20 lux
3.2 Uniformity - Why It Matters?
Uniformity = Minimum Lux / Average Lux
- - Higher value = More uniform lighting, which ensures better visual comfort
- - Road lighting standards generally require a uniformity of ≥ 0.3-0.4
- - Low uniformity causes a "stroboscopic effect", leading to driver eye fatigue
3.3 Light Spot Shape
The shape of the light spot on the ground is determined by the luminous intensity distribution of the IES file. Different optical designs produce distinct patterns (batwing, rectangular, asymmetrical, etc.).
4. Common User Confusion and Settings
Here are solutions to the most frequently encountered issues.
4.1 The light spot in the 3D scene looks incorrect?
Check the following items:
- - Does the IES file match the actual luminaire model?
- - Is the pole height value set correctly?
- - Does the luminaire installation angle (tilt) match the actual on-site setup?
4.2 How to compare different luminaires?
Simply upload multiple IES files sequentially to compare:
- - Spot shape and effective coverage area
- - Lux values under identical pole height conditions
- - Overall uniformity performance
- - Visual comfort in the 3D preview
4.3 Why is rapid comparison more critical than heavy rendering?
In early-stage B2B consulting, speed beats perfection. While the ies lighting simulation app does not replace dialux for compliance signing, it allows sales teams and project managers to filter out 90% of wrong optical lenses within seconds right in front of the client.
5. Quick Start Guide
Complete your first lighting simulation in 3-5 minutes.
- - Step 1: Open the app and tap the bottom "Upload" icon
- - Step 2: Select a local IES file (or use the built-in sample file)
- - Step 3: Switch to the "Lighting" panel to set the pole height and type
- - Step 4: Inspect the light distribution in the interactive 3D scene
- - Step 5: Switch to the "Illuminance" panel to review ground lux analysis
- - Step 6: Switch to the "Report" panel to generate and export the document
6. Application Scenarios
The ies lighting simulation app is particularly powerful in the following scenarios.
- - ✅ Rapid luminaire selection and comparison (uploading multiple IES files to compare patterns)
- - ✅ On-site customer lighting effect demonstrations
- - ✅ Field lighting acceptance references
- - ✅ Preliminary lighting scheme designs
- - ❌ Final road engineering design (If your project requires formal municipal sign-off, please contact our engineering team at [email protected] for full professional DIALux verification reports)
Conclusion
The ies lighting simulation app enables fast and intuitive visualization of lighting effects by uploading IES files and rendering 3D photometric results instantly. It eliminates the need to wait for heavy DIALux rendering and provides immediate feedback on lighting performance. While professional lighting design still requires dedicated software like DIALux, the ies lighting simulation app is ideal for rapid comparisons, customer demonstrations, and preliminary evaluations. To ensure accurate results, always ensure you have the correct IES file from the luminaire manufacturer.